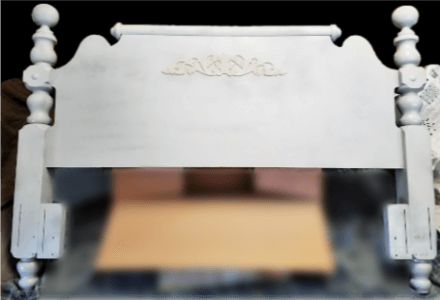
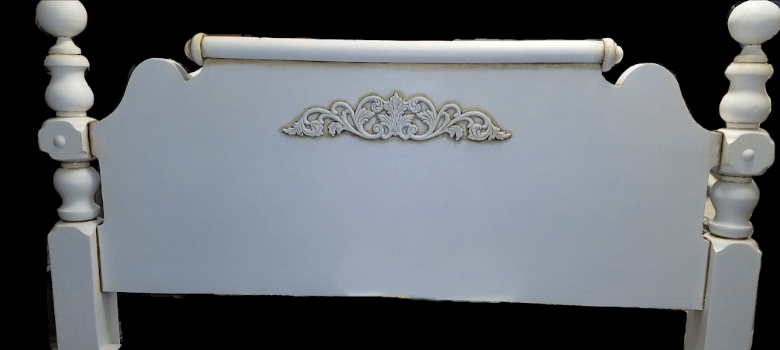
My spare bedroom was in serious need of a makeover! The overall goal for the room was to make my guests feel as though they were on vacation in a nice B&B. First on the agenda- a nice queen size bed! I decided to base the room around a French Country theme. Have you ever taken those design style quizzes to find our your personal ‘design style’? They’re fun! But every one of them gave me a different style-ha!
Lots of Pinterest searches later – just a side note*I do a Lot of research, I mean a Lot, I probably research for a solid week before I act, which is why I am writing my own blog*.
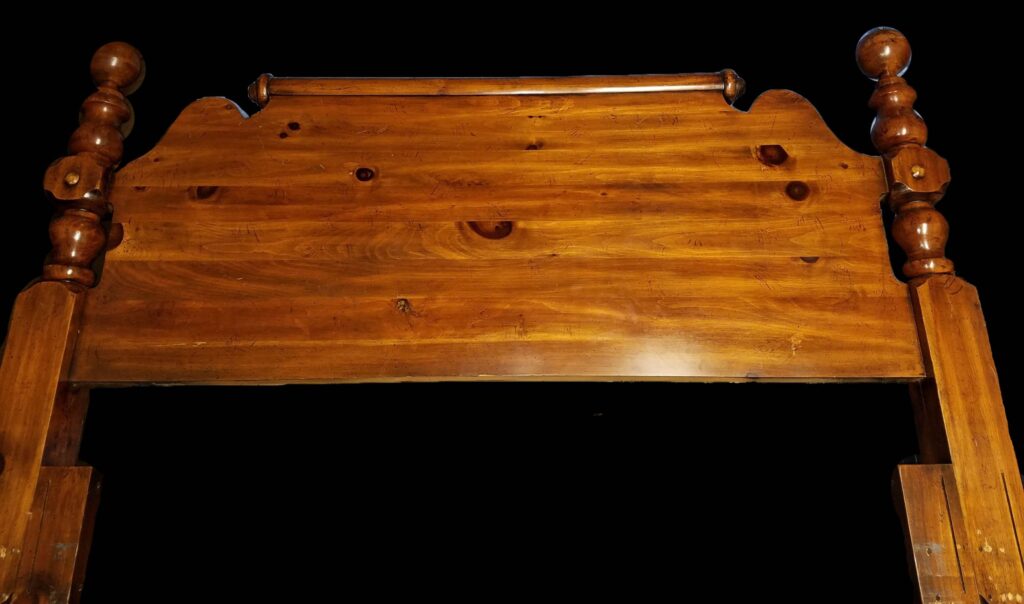
Anyways… back to LOTS of pinterest later (and blogs, and youtube, and…) I had a good idea what type of bedframe I wanted to make over. I was imaging your grandmas bedframe in the spare room, or what you had as a kid. Thick posts, bedknobs and twists, heavy wood, oh my! On the hunt I went! After a about a week I got lucky! OfferUp, one of my favorite sights to buy items from, had this old cool looking queen size Headboard. $38 plus a nice metal queen size frame. Bonus!
In it’s plain jane state the headboard didn’t scream anything french except the fact that it has posts and sculpted. To fit my vision of French country, *which was antiquing around fun whimsical wooden twirls* off to my closest home improvement store, Home Depot, I went! I think I probably know every product on the Home Depot shelves and was fairly certain I’d find what I need.
I wasn’t disappointed, there they were! Grabbing these and the rest of the equipment I needed I headed to check out.
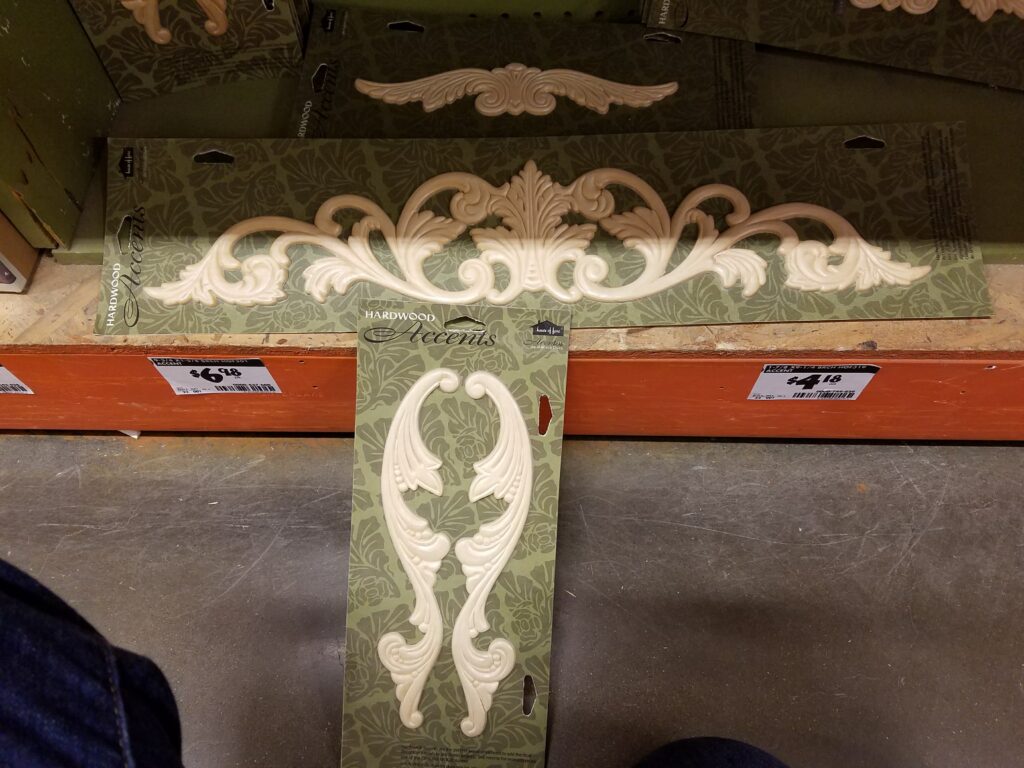
I’ve since learned you can make your own wood decals easily with paper clay! That’ll be another project…
After coming home with my goodies I set to figuring out how to use the decals. I ended up not using the wings so I returned them.
Step One – Prep the Surface
Clean the headboard thoroughly to get rid of grime and grease. I use Orange Goop, it removes grease and dirt, it’s water less and I think it smells good. Simply get a little on a dry cloth and start wiping, you’ll see the dirt come off. Alternatively you can wipe down furniture with a little vinegar and water, you’ll need to dry the furniture off afterwards.
Next scuff the entire thing with 200 grit sandpaper. This doesn’t have to be super extensive. Focus most on the edges and in the crevices to ensure really good bonds at these points. The edges because they’ll get bumped and the crevices because you’ll want the glaze to lay deep. Re-wipe the entire headboard down again to remove dust. You can see the light scuff marks in the picture below.
Step Two – Attach the Decal
To attach the decal measure how far you want the decal from the bottom. You don’t want it too high or too low. Too high and it would look weird, too low and the pillows will cover it.
Measure your mattress, or get some generic measurements if you don’t have one yet. Next how does the mattress sit on the frame? Do you have a box frame or just a solid wood base? Grab these measurements too. Finally find on your headboard where the frame will hit. Measure up from here the numbers you gathered earlier. This will tell you where the top of the mattress will sit. Add about 10 inches for the pillows, or more if you love pillows like me! Then play with the placement of the decal in this height range. Make it yours!
**TIP** Use a pencil to mark your perfect placement. Add a mark to the top point and both sides.
**TIP** If the headboard isn’t already laying horizontal then lay it flat now. If this can’t be done be prepared to tack the decal in place with the brad gun WITHOUT LETTING GO of the decal. Otherwise it will slide all over making a mess. (Experience!) No matter what grab all of the equipment you will need first so it’s close at hand.
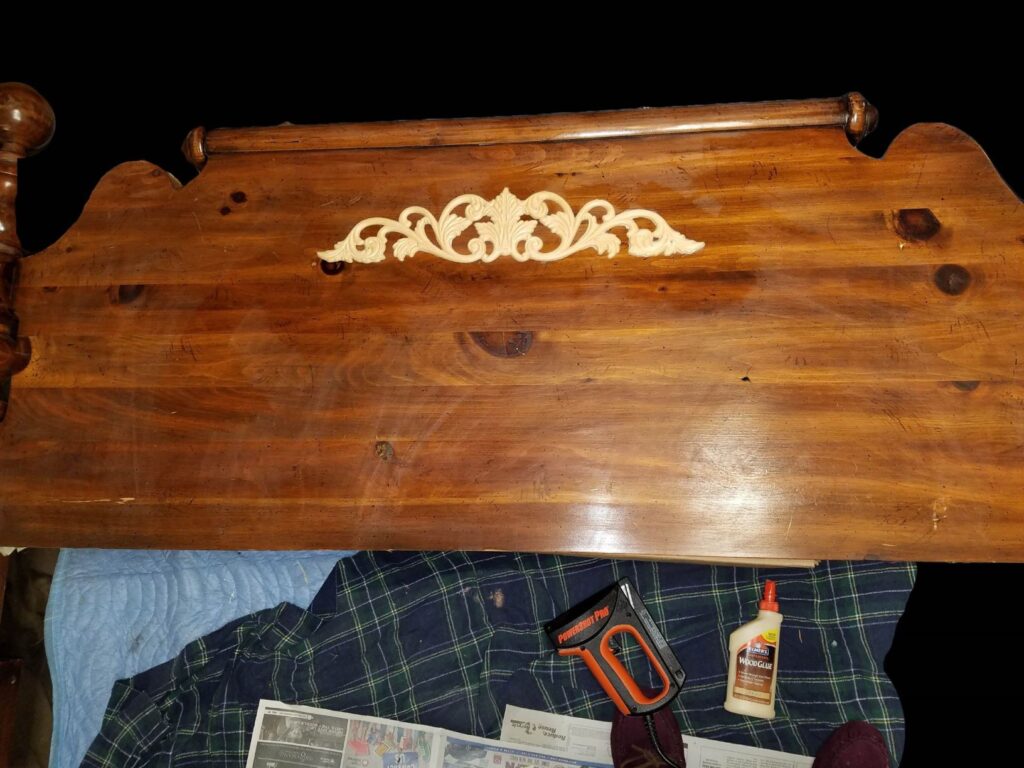
Apply a thin layer of Elmers Wood Glue to the back of the decal. Using a slight angle to avoid touching the entire decal to the headboard, align the top of the decal to your mark, eyeballing the sides then lower it and press in place. To hold it until it dries, and to make it more permanent, use an electric brad nail gun to quickly tack it in place. I used two nails, one at each end. You can also use a brad nail and brad hammer to complete the task.
Wipe any extra glue off that might have squeezed out from under the decal, if it’s already tacky a damp cloth will get it off. Walk away and wait for it to dry.
**TIP** Make sure to put the nail into low spot in the design so it will be hidden
Step Three – Prime the headboard
After the I glue dries do another quick wipe down to remove any dust or unseen glue drips.
Using Rust-oleum Grey primer, or some other knock off brand lightly dust the headboard. Stand back so your at the very end range the spray paint goes, probably around 6-10 inches, and lightly but steadily spray the paint on in side to side sweeping motions. Being this far back gives it a large wide coverage. Be sure to get all the way around it and from every angle. I chose grey primer so the white would have cool undertone.
Let the primer dry per the instructions on the bottle. After it dries rub your hands all over the headboard. If there are any rough spots lightly sand these with 400 grit sandpaper.
Wipe the whole thing down again.
Step Four – Paint
Rust-Oleum Satin White was my paint of choice. I like the satin finish the best because it’s not super shiny like a gloss, has a nice light sheen and because of this is more forgiving then flat or eggshell paints, they can show more flaws. I did three solid coats and a 4th dusting of places I missed. It sat for 48 hours to cure.
Using the same technique as you did for the primer, shake that bad boy up and spray on your first coat. Again follow the instructions on the paint for timing to apply multiple coats.
When spraying your next coats watch for drips and runs. These can happen when you get too close with the can, or pause to long in one spot. Always keeps that can moving evenly! Shake Often! Keep a foam paint brush near so you can quickly and gently wipe the runs up. The goal is to get the excess paint off not the color. Gently and Very Lightly mist these places again with the paint to let the wet paint settle smooth down.
If it’s really bad, do your best to smooth it wet and then walk away from that area. Finish what you need to, let it dry. Come back and lightly sand that area with 400 grit until it’s smooth.
**TIP** For your final coat don’t use spray cans 1/4 or less full. I have had multiple projects that I have had to fix in places because the spray can decides to start shooting blobs
Step Five – Glaze / Antique
I chose a Java colored glaze, I got a quart as it was the only size Home Depot had an it was fairly inexpensive. I now realize I will have this quart forever, glazing takes VERY little paint.
To start, I dabbed the glaze on, waited a few minutes and then wiped it off. This technique is supposed to leave the glaze sitting in the deep areas. Unfortunately this decal was very shallow and it all basically just wiped off.
I was thinking I should get a small brush and rub this on for a more dramatic look. I found a site Rehab to Fab that showed a great video on using a small brush to do exactly what I had the picture of in my mind.
Taking medium amounts of paint onto a small flat brush work the paint into the crevices and then lightly wipe it off. When you wipe too much off simply gently dab a little more until you get the exact amount you want. Holding the brush straight up and down you can dab in straight lines and get a close dark line, don’t wipe unless it’s to smudge it a bit. Using the corners of the bush ‘dot’ into the middle of knots or other tiny areas, don’t wipe them just leave it.
**TIP** Stand BACK from your work every so often, 2-6 feet. When the glaze goes on it can look a little like smeared grossness but it’s just because you’re so close to it. Standing back gives you a better perception.
Continue doing this for all parts of the headboard you want antiqued. Doing it in every crevice will give an older look. The point is to make it look as if it has had years of dirt worn into the cracks. Once you’ve antiqued glazed every part of it you want, let it dry.
Step Six – Clear Coat
This step isn’t truly necessary but I think it adds more durability and it settles in the glaze making the piece look more cohesive.
Using Rust-Oleum Satin Clear coat apply once again the same technique as you did for priming. Wide sweeping back and forth motions. Be extra careful to stay an even distance away so it won’t run!
Apply two even coats. Let it dry for the curing time it says on the can, generally 48 hours.
Step Seven – Assemble your bed and enjoy!

- Wood Decals
- Orange Goop or Vinegar Water
- Rags to wipe clean and dry
- 200 and 400 grit sandpaper
- Measuring tape
- Pencil
- Elmers Wood Glue
- Brad nails and Brad gun or Hammer
- Java Glaze
- Small flat tipped paintbrush
- Rag to wipe glaze with
- Rust-Oleum Primer
- Rust-Oleum Satin White – 3 cans depending on size of headboard
- Rust-Oleum Satin Clear Coat – 1 can
- Foam paintbrush

