***There are NO affiliate links on this page, just helpful ones!***
Prep sucks, it’s dirty and gross but crucial. Yes, it’s time consuming. Yes, it’s gross. Yes, you REALLY must. I cuss at it, but it matters.
The only caveats is you want a rustic, beat up, dingy look. Like with my Coat Rack I literally picked up an old board, wiped the cobwebs off and painted it. I also beat it later with a hammer…
Vacuum your Item
Vacuum all the loose nasties. Cobwebs, *shudder* spiders and dirt, you never know what you’re getting with a free roadside score. Use the wand and a soft brush attachment so you don’t scratch it up, but even if you do scratch it, you can fix it and you’re painting it so who cares! Unless it’s a deep scratch, then you may want to check out my Fixing Blemishes page.
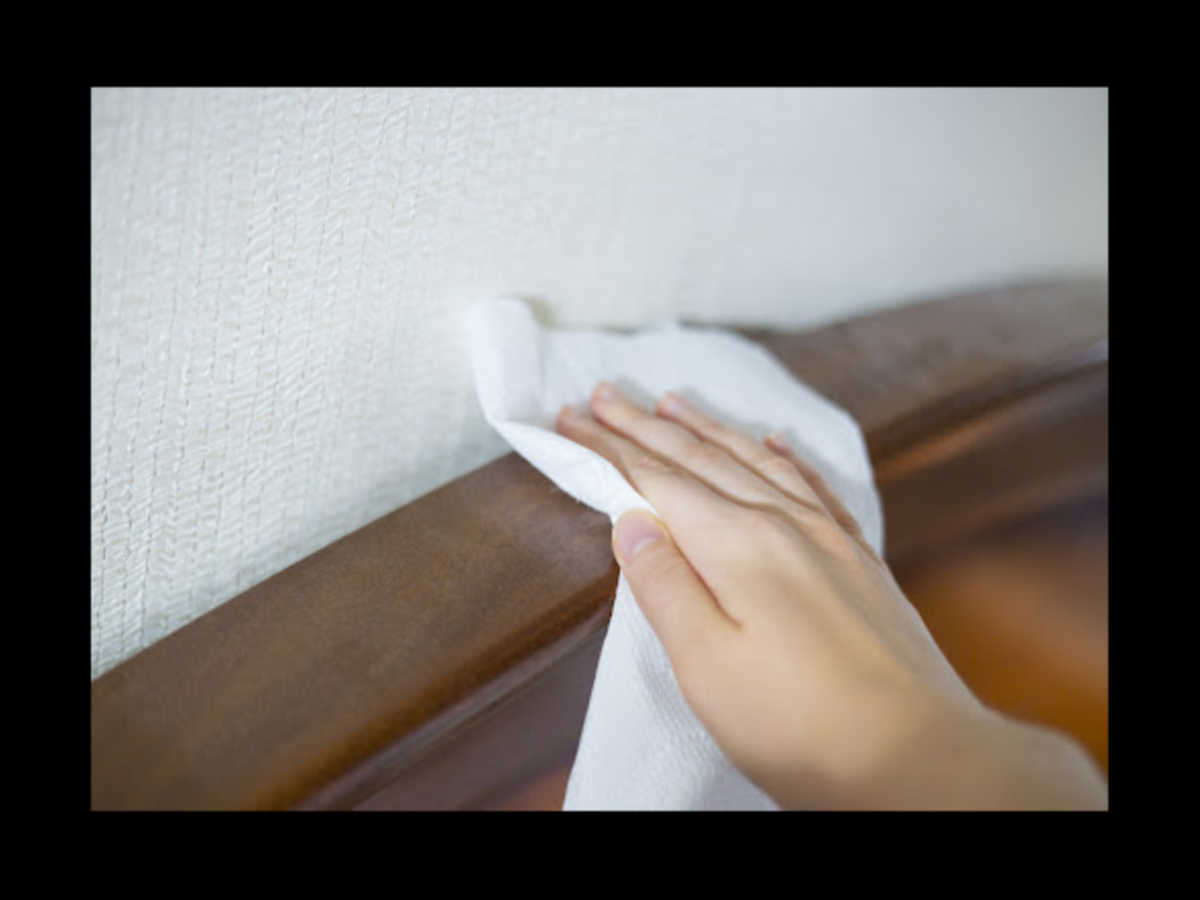
Next clean the item.
What to Use to Clean
I use orange goop (a mechanics hand cleaner), a Vinegar Solution, or Krud Kutter degreaser.
Which one?!
Use Orange goop for fragile items and it’s EASY. It removes grease and dirt, it’s waterless and I personally think it smells good. Squirt a small amount on a clean light colored rag and start wiping the furniture in a circular motion. Go back over with a clean rag to wipe off the excess. I usually do a 2 fisted karate kid type of move to do it all at once. Goop on, Goop off.
A Vinegar Solution spray. This one is also EASY. The ration I use is ¼ of white cooking vinegar to ¾ water in a spray bottle. Lightly stray a cloth and repeat karate kid movements.
Use Krud Kutter to cut the grease. This one is not so easy but grease is hard. The key to making it easiER is use a fresh side of a rag for every wipe. It’s the easiest method I’ve found since grease tends to just smear around. Yeah it makes for a lot of laundry/trash but less movement.
**Pro-Tips**
Be careful of red rags for some reason I find red rags/towels always deposit a red color!
Use wooden chopstick to help push the rag into tiny holes, or a putty knife into flat sections that your fingers won’t fit into.
Was the dirt hiding something sinister? Unsightly holes, cracks or any other blemishes? Head over to my Fixing Blemishes page.
Remove, Sand, or Scuff the old surface
Which one?!
Scuffing
Scuffing is the easiest and I always opt for paints that work with this method like Fusion Mineral, Chalk Paint, or Mud Paint.
Take a 200-300 grit sandpaper and just quickly and firmly run it over flat surfaces. Then fold it a few times and scrub at the corners. Wipe it with a damp cloth and done!
Chemical Stripping to Remove the old surface
If your piece is darkly varnished like most older pieces, or if it has loads of paint on it, you’ll want to remove the old surface entirely. Now the hard way and how a lot of people do it is SAND it all. I HATE sanding it fully, especially varnish.
I use a chemical stripping to do this. I know it’s not the best thing to use for the environment, but I’m lazy and I want Easy.
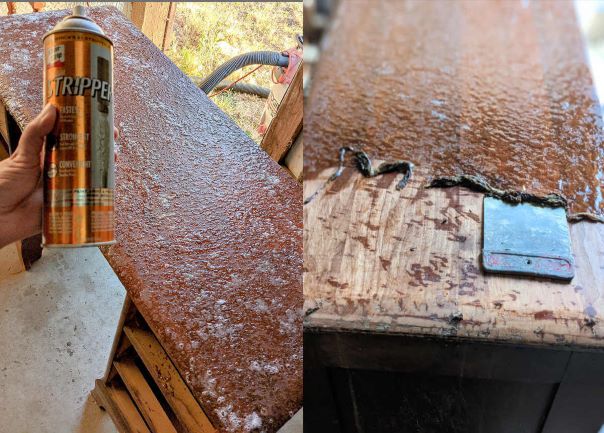
Simply spray on the chemical stripper, wait 1-30 minutes. Come back with gloves, goggles and a metal scraper then go to town! You’ll see the old material has bubbled and lifted. I simply scrape the nasty gooey substance straight into a plastic bag and dispose of it.
Then scrub the edges and leftovers with steel wool to clean it all off. This is a lot quicker than doing it all with sanding.

Sanding
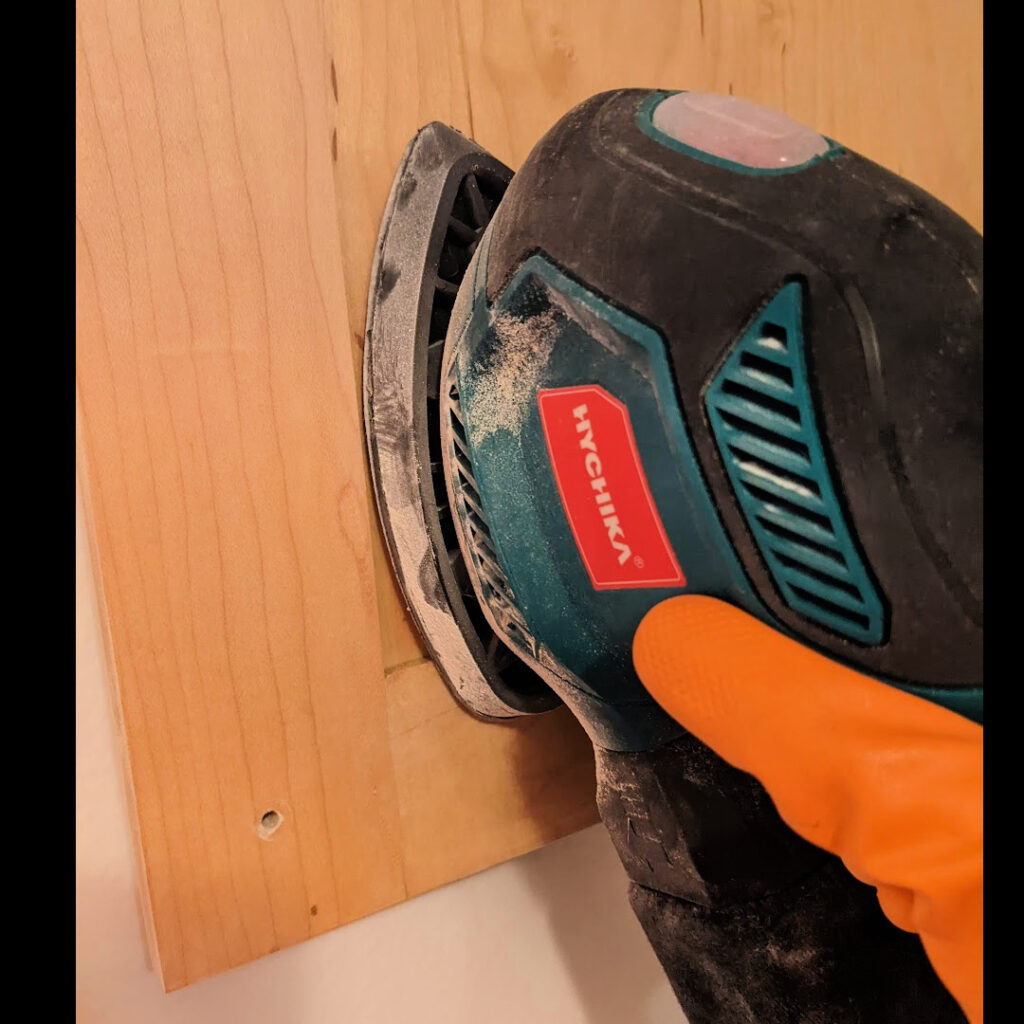
Sanding’s EASY button is an electric hand sander. I purchased a highly reviewed inexpensive electric hand sander. Worth every penny!
If you’ve just chemical stripped your piece grab your electric hand sander and choose a 120-200 grit to remove any marks. Swap for 300-400 and smooth your piece out going with the grain of the wood.
If you haven’t chemically stripped your piece your prep still may not be done. UGH F*ck prep… but you really are almost there! If the piece is rough when you run your hands over it then the paint will be rough.
Use a small grit sandpaper, like 80, to tear through the tough stuff quickly and easily. Then work your way up in numbers until you’re happy with how the piece feels. 300-400 grit is my choice depending on the piece.
This step REALLY won’t take long, let the sandpaper do the work. Wipe it with a damp cloth and done!
**PRO-TIP** The smaller the number on the sandpaper the rougher it is.
Example: 80 grit will quickly get rid of ridges and 400 will smooth it over

Priming
Chalk Paint, Mud Paint, Fusion Mineral (3 of my favorites) state they don’t need any paint prep such as priming or sanding.
HOWEVER! Very light colors. Like white over dark wood will require MANY coats. Don’t be like me – I made a $38 dollar mistake, and then another $23 dollar one because I didn’t follow my own advise. I just jumped into painting because as I stated above, those 3 types of paints don’t need priming. WRONG-light colors do.
To avoid the paint suck use a water-based primer, I use Kilz, before using that gorgeous white.
**Pro-Tips**
Use a water-based primer with lighter paint, this aides in coverage and reduces spend
For stains that continually bleed through spray with Shellac (you can do this right over the paint)
Final Sand
After the primer dries give it a light sand with 400 grit paper all over. Again, let the sandpaper do the work, no need to break a sweat.
Keep running your hands over the piece and when you are satisfied wipe it down thoroughly to remove the dust.
Now your piece is clean, smooth, and ready for the paint color of your choice! You’ll be glad you did this.
Was your paint prep hard? Let me know!
