**There are no affiliate links on this page**
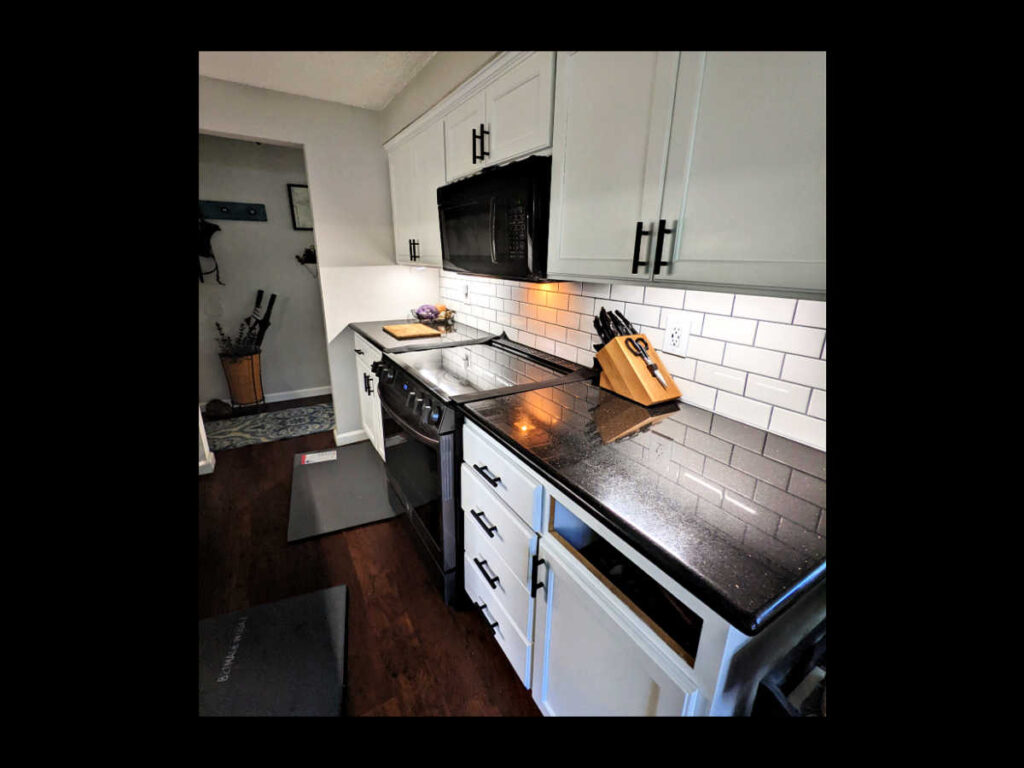
Stage Three Part I in my Kitchen Renovation project Painting my Kitchen Cabinets White! After Tiling a beautiful kitchen backsplash it’s now time to update the cabinets. If you’re here to learn “How to paint your kitchen cabinets with Fusion Mineral Paint” I have some great linked articles below that have wonderful details. However, my goal for this post is to list what things I needed to know the most going into the project, not just regurgitate the same facts that are already out there.
Painting kitchen cabinets are a lot of work. There are shortcuts out there like using paints you don’t have to sand and prime. Chalk paint or Fusion Mineral paint are two examples. Other paints, like latex you have to sand the cabinets all the way, then prime, then paint.
Would I do Paint Kitchen Cabinets again?
I chose a shortcut with Fusion Mineral Paint here’s what I wish I knew.
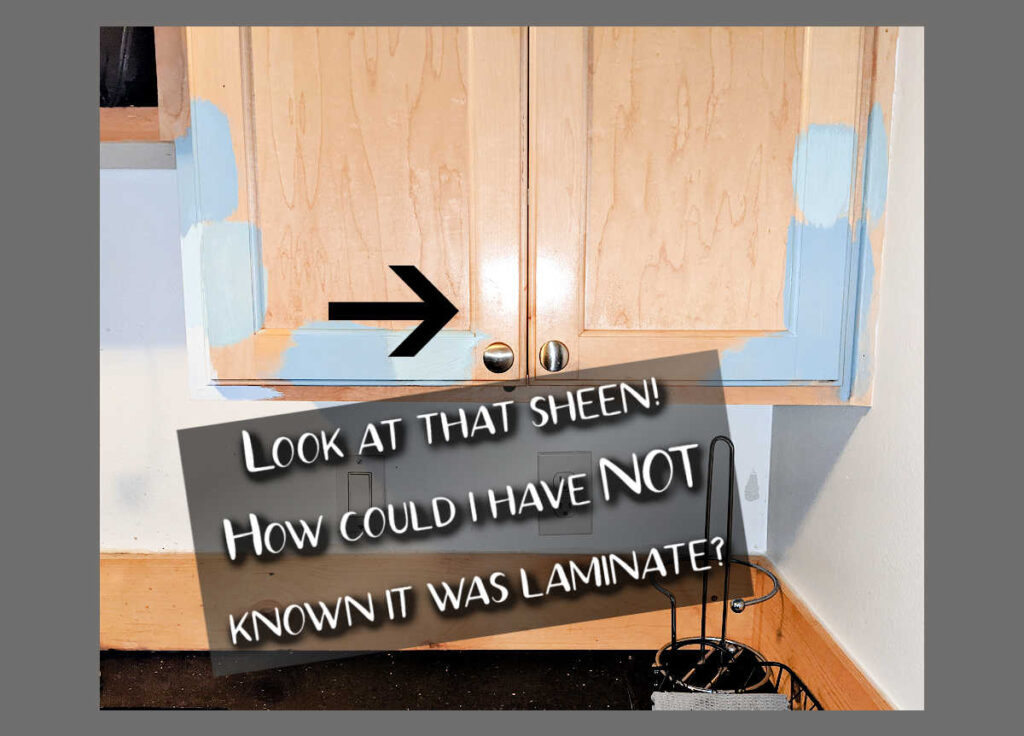
- Cabinets wood type. You need to KNOW what type of wood your Cabinets are! This determines your work load. My cabinets were laminate and this added extra materials, extra money and extra time. Time Wasted details and pictures…
- Degreasing your cabinets matters! (So does the amount of work you put in.) I used Krud Kutter, didn’t change my rag out as often as I should and missed a lot of places. Grease causes the paint to literally peel back before your eyes. details and pictures…
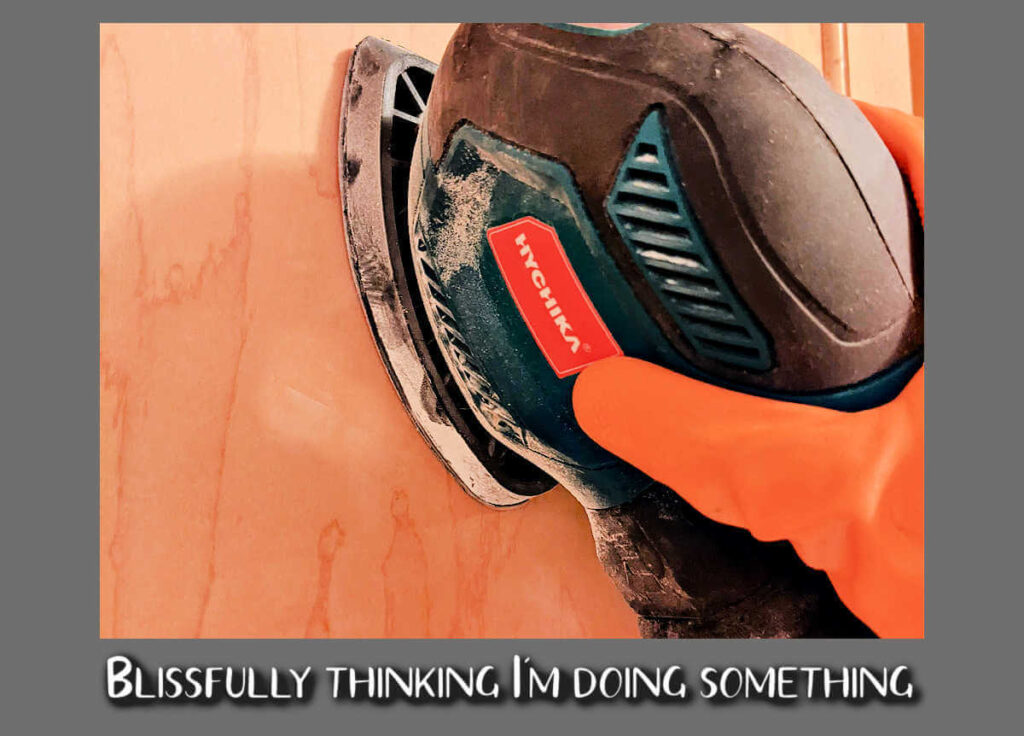
- Sanding preparation on laminates is wasted time. Laminate cabinets do not scuff or sand, it was as if I had never ran my sander over them. Time Wasted details and pictures…
- Liquid Sandpaper is, in my opinion, crap. When I clued in my cabinets were laminate I decided to try a ‘gripper’ type of product in order to hopefully avoid the paint peeling off. Don’t waste your money on this stuff. $ Wasted details and pictures…
- Fusion Mineral paint with all it’s glorious adherence properties doesn’t cover well with it’s lighter colors, like Casement. Priming was needed. details and pictures…
- Fusion Mineral Transition, a product that is supposed to help with lighter color coverage issue as mentioned in #5, $ Wasted. details and pictures…
- Prime with patience. It took 4 coats of primer to cover the laminate. 3 would have been sufficient. Time Wasted details and pictures…
- Heavy coats of primer give you texture issues, again patience is the key. Time Wasted details and pictures…
- Painting the detail edges first with Fusion Mineral leaves brush lines. Solution, 2 fisted painting. Paint the details and roll at the same time to keep a wet edge on the paint. This utilizes the great self leveling properties of Fusion Mineral. details and pictures…
- Fusion Mineral paint goes further after priming, be careful not to buy too much. $ Wasted. details and pictures…
- Consider removing the cabinet doors, or be prepared to get very detailed. The problem of not removing your cabinet doors is you easily miss spots behind the doors. Looking at your cabinets at different angles matters. details and pictures…
- The 21 day cure time for Fusion Mineral paint matters! It’s almost magical. It went from peeling off when I closed a door to being super durable. details and pictures…
- My last thing I wish I knew that was surprising to me is; Fusion Mineral Paint left on the threads when you close the jar “fuses” closed. I had to bang the lid to get it open!
Know Your Kitchen Cabinets
After reading this article How to Paint Kitchen Cabinets the Easy Way by Tasha at Kaleidoscope Living I thought oh yes I got this! It all looked so easy, and Fusion Mineral How to Paint Kitchen Cabinets also affirmed my misplaced giddiness at the ease of this project.
Boy was I wrong. Laminate makes everything hard. Laminate is very shiny and smooth. Mine looked like Pine however when scuffed with sandpaper it doesn’t scuff like wood. You sand it and it’s just as smooth as it was, maybe a little discolored.
Prepping with Degreaser
The degreaser Krud Kutter works great, if you use it correctly. I like that it was a tsp alternative. What I did wrong was I didn’t change my rag out often enough, I should have changed it with every front door, back door and underneath each cabinet.
Instead, I did not clean well around the hinges, and I missed a lot of spots underneath. The second I applied the first coat the greasy areas reacted and did a crazy thing! The paint literally peeled back from the cabinet right before my eyes. It was horrible! This was also AFTER applying Liquid Sandpaper and scuffing with my hand held sander as well, so DEGREASING MATTERS.
To fix this I let the paint dry, degreased those areas again, sanded them again (as best I could on laminate), degreased again and then primed a thin coat of killz over it.
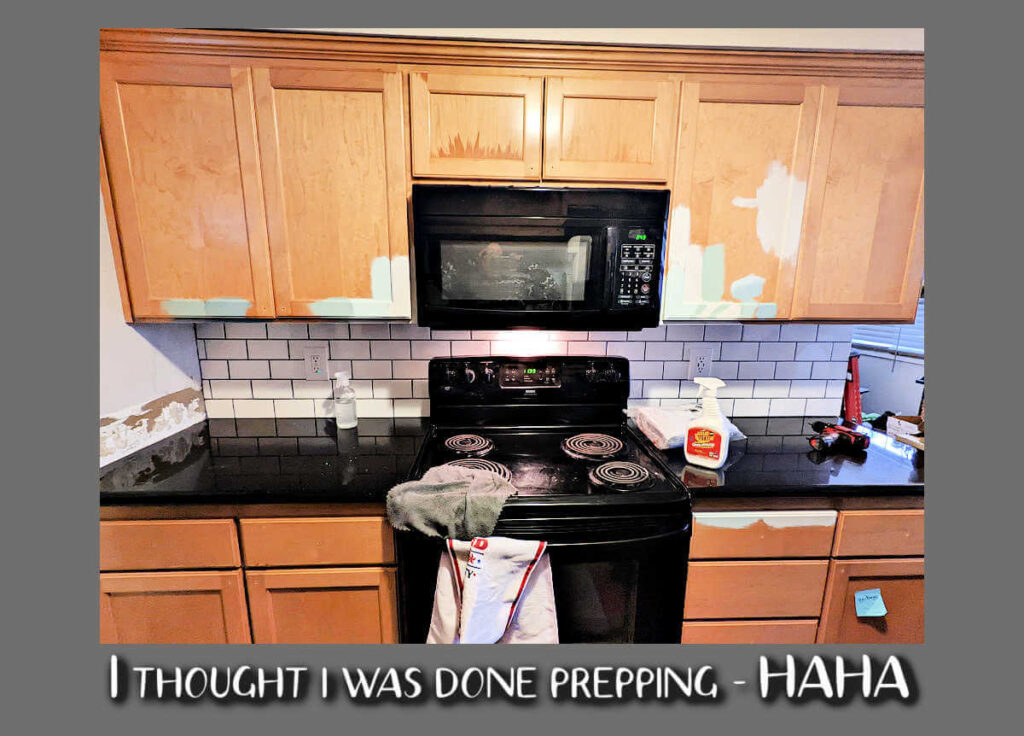
I prepped for 2 days, I should have made it 3 and gone over everything with the degreaser again a few more times. After all of the frustration with the cabinets I decided to take off my drawer fronts so I could really clean them. I degreased them 3 times, with a new rag on each drawer front each time. I used a Ton of rags and WOW such a Huge Difference. It made me realize what a poor job I had done cleaning the cabinets. The drawers felt squeaky clean.
Sanding Laminate
Below is a picture of me optimistically sanding thinking I’m actually doing something. When in reality it really didn’t look or feel much different from when I first started.
On my drawer fronts I experimented with different sandpaper grits thinking perhaps I just needed something heavier. No, the heavier I went the drawer fronts just started burning through to this papery type substance. Not ideal.
Trying to Avoid Paint Peel
Doing some google searches I came across Liquid Sandpaper, this stuff sounds similar to Fusion Mineral Ultra Grip. Reading the Fusion Mineral blog they talked about using ultra grip to rough up the cabinets. Sounds perfect as right now I was in a horrible situation.
I didn’t want to wait for shipping so I decided to by the Liquid Sandpaper from Home Depot. This stuff has to work, right? Wrong. It. Did. Nothing. Perhaps it’s only for actual wood.
Disclaimer – I do Not know how Ultra Grip works, or if it would, because I haven’t used it. I can’t wait to try the Ultra Grip by Fusion Mineral product on a different piece of laminate and I’ll update this when I do. (not an affiliate link, just a great shop to purchase Fusion products from, the shipping is really fast!)
Priming
Here I am I don’t want to waste more time on purchasing what I’m thinking I should have (the Ultra Grip) so I decide to move ahead with painting. The beauty of Fusion Mineral is no priming right? HA yeah not on laminate. The first half of a $23.99 bottle of Casement Fusion Mineral is applied, I can see the pine through it as if I painted it with transparent paint. Not to mention now I see all of the spots that still greasy and reacting! I ignore those spots for now, knowing I’m going to need to clean and prime them (again).
I’m like, ok trust the process I bought Fusion Mineral Transition knowing the pine might be hard to cover, on goes the coat of that. Again it’s as if I painted another coat of translucent paint.
A little panicked, miffed and holy shit what I have gotten into, I head to home depot for my tried and true Kilz primer. I know this will help cover the nasty spots and I have used this successfully with laminate in the past.
Kilz Primer
I used Kilz 2 water based primer. This stuff works great in my opinion. On laminate the first coat should be very thin, it’s going to be streaky. I did 4 coats of primer, I could have done 3 however I kept seeing what I thought was the pine showing through (a little PTSD here) but I now realize it was just shadows as primer is not going to give you a smooth finish like your actual paint.
On the bottom of the cabinets where I really messed up with that degreaser I used Kilz 3 water based primer. It’s much thicker and offers more stain block than Kilz 2, it also has a more finished look.
Thin Primer Coats are key
As I stated above I removed my drawer fronts to truly properly prep them. While priming I thought more is better, mmm another mistake, less is more, almost always. The drawer fronts ended up with a crazy texture to them and I ‘thought’ oh if I just paint the Fusion paint on it will smooth out. WRONG. SO MUCH $ WASTED!
I sanded them all the way flat and primed again. Thin coats this time.
Avoiding Brush Lines
After my nightmare priming session I merrily went around with the Fusion Mineral paint, excited to actually start in on it for real, and I painted all of the details first. Using the small paint brush I went around all of the hinges as outlined in How to Paint Kitchen Cabinets the Easy Way by Tasha at Kaleidoscope, I did this with the primer too, honestly at this point I’m getting messy but I’ll cover that in my Never Ending Finish Work post. Then I took a nice synthetic round brush and did all the inner raised corners of my cabinets. And finally went back and rolled the doors.
Going around the hinges worked really well! However, the inner raised corners?
MISTAKE because you could see exactly where I painted previously, there was a ridge at the edge. The paint had dried and the roller acted as it’s second coat adding more material to that hard brush line. Pffttt.. I went back and lightly sanded the worst offenders.
To avoid this I did 2 fisted painting to ensure that I was painting everything on a wet edge. First running the brush along the inner raised corners and then immediately rolling the doors.
Painting kitchen cabinets with Fusion Mineral Paint can go a long way
Reading the square footage calculations I decided 2 pints of casement and one pint of transition would give me ample coverage. After the first half pint was wasted and then the first half of the transition pint was wasted I was panicky which is why I started priming but I was also convinced I would not have enough product. I rushed down to my local Fusion Paint supplier, a 45 minute drive, Furbish, A Salvage Place and they had one bottle of Casement. I bought it wishing they had more and I also picked up another pint of Top coat, more on that later but also $ wasted.
Once I started painting the cabinets with the Fusion after they were primed it was so easy, so quick so smooth! (as long as I did the wet edge trick). I ended up only using my 2 original pints! I dipped into the 3rd pint only to do a few minor touch ups. 2 solid coats, a 3rd touchup, a 4th and a 5th round to be really nitpicky. The color depth of the white was immediately an improvement over the primer and I started to actually breath easier. Holy cow this is going to work…and then more disaster struck.
Look at the cabinets at all angles
I felt like, both priming AND in the final paint stage, that every time I moved to a new position there would be one little sliver of pine showing through. The problem of not removing your cabinet doors is that you can miss the back area by the hinges on the door and you can miss the space between the door and the cabinet, both open and closed there was a spot that wasn’t exposed.
The solution was to run my brush in between the door and the cabinet when the door was open. Finding these little spots on the 4th and 5th touch up though was brutal, at some point I thought I’d never be done.
21 days matter, let it cure
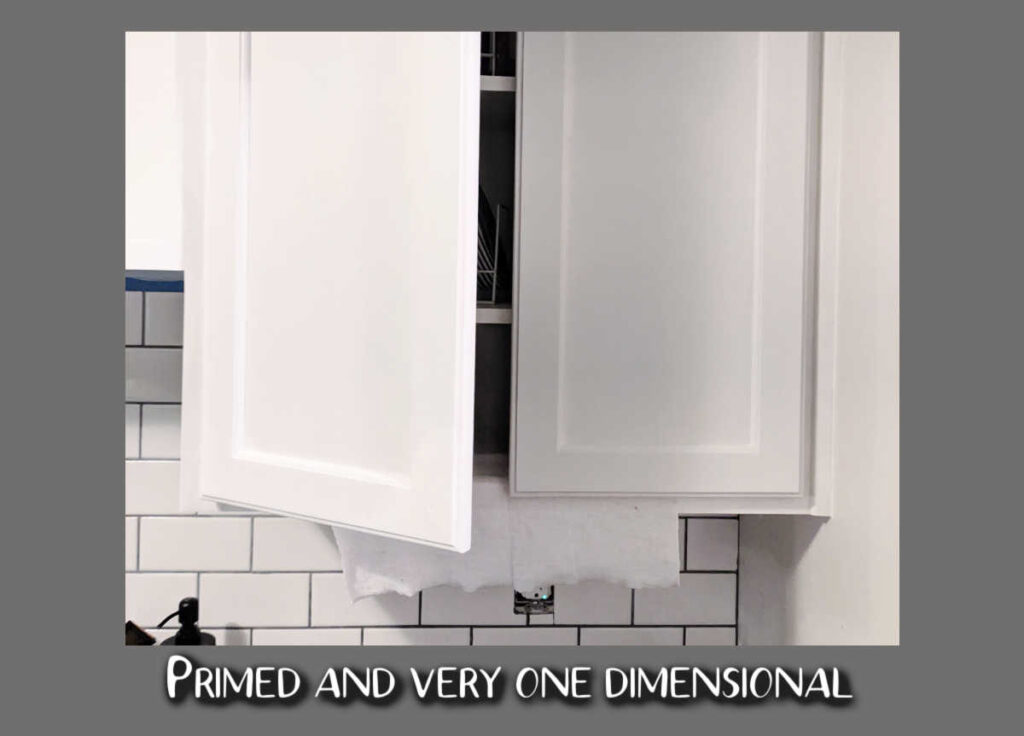
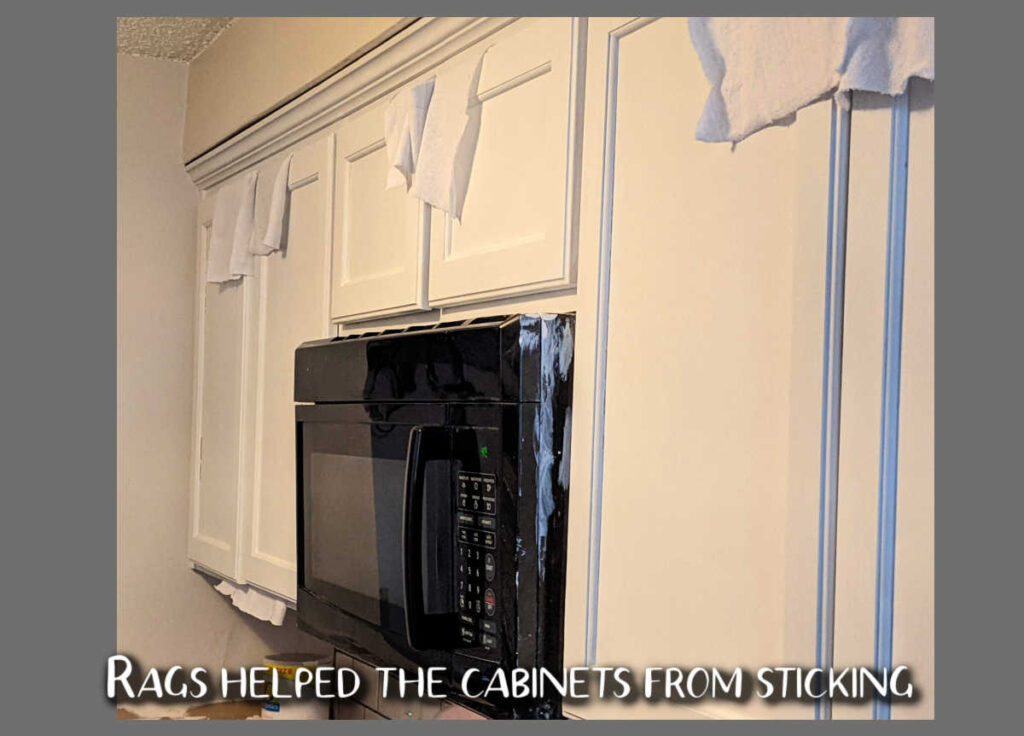
Queue the next nightmare. Every time I closed a door after the paint was dry it would stick, and then it would PEEL off and I had to keep doing little touchups all the time. This was also after I applied Tough Coat.
To fix this I installed clear rubber bumpers, I wanted these bumpers on anyways and I thought why not now – SO WRONG. The rubber was Worse! I should have used felt, but I had just peeled off felt bumpers that were super nasty, and if you know you know how nasty those can look, so I wasn’t going to perpetuate that in my clean modern kitchen.
To actually fix this solution I put rags in all my doors and hoped that after the 21 day cure time they would be fine.
The verdict? 21 days matter! Once cured the paint is solid, I did accidentally gauge my cupboard with my metal organizer, but honestly nothing would have withstood that. I am Very happy with the Fusion Mineral paint! The paint really just needed that time to dry and adhere. I am not sure if the first coat of Fusion helped, or it it was the many coats of primer but 7 months later I’m still in love with my kitchen.
To answer my question at the beginning, yes I would do it again. I do recommend painting kitchen cabinets with Fusion Mineral paint, it’s a long hard process but so worth it.
