Stage Two Part II Supply List
This is Stage Two Part II in the tiling a kitchen backsplash series. This is the supply list to tile a kitchen backsplash for under $200 + Avoid this Mistake.
Check out the Kitchen Renovation project to see all the parts and stages. I’m bringing you concise helpful resources, not regurgitated facts already out there. I’ve linked all the videos and websites that were helpful to me below.
<= In Stage Two Part I Tiling a Kitchen Backsplash I went over “15 Things I Wish I Knew” that wasn’t clear from all the hours of research I did.
=> Stage Three we get into painting the Kitchen Cabinets using Fusion Mineral Paint.
Total Cost = under $200
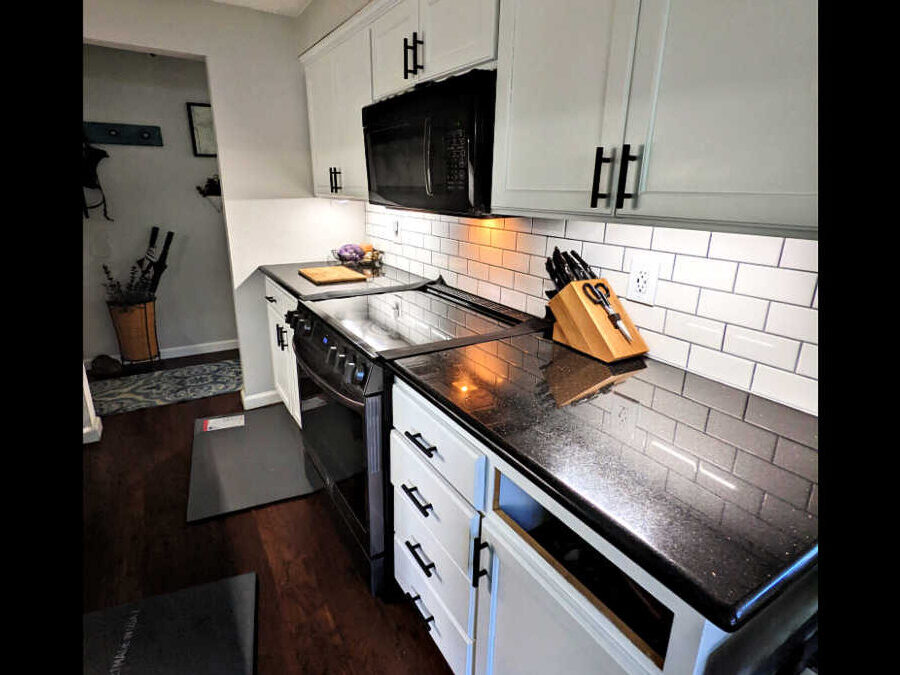
My total cost was $157.61. For this cost SIZE MATTERS. My kitchen I roughly measure 22 square feet that needed tiling. I bought 2 cases of classic white subway tile which cover 12.5 square feet each, a total of only $30! Subway tile for your kitchen backsplash is the way to go on a budget! It’s classic, classy, easy, cheap, with multiple pattern stylings.
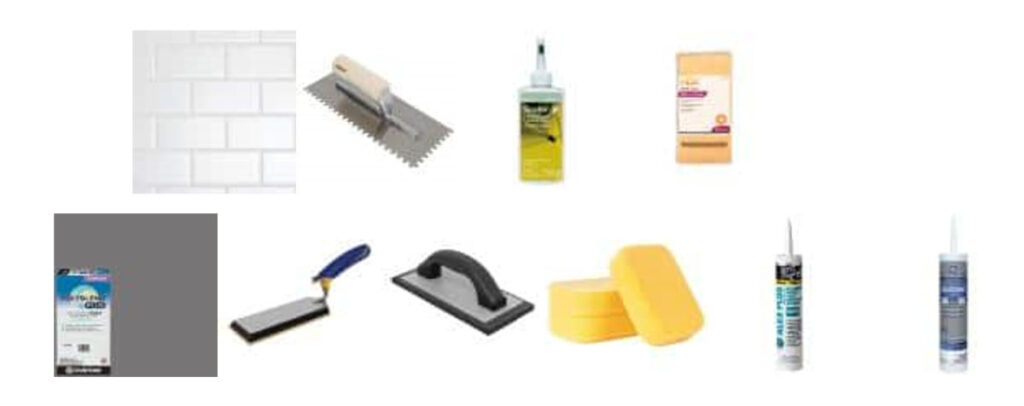
Supplies Needed-this is everything I used:
(There are NO Affiliate links on this page):
- Black plastic garbage bags (dual purpose, split a few down the side to protect the counters) (already owned)
- Masking tape (already owned)
- Old sheets, or drop cloths for floor protection (already owned)
- Rubber and latex gloves (already owned)
- Eye protectant (when cutting tile) (already owned)
- Tile Snap Cutter link
- Tile Trowel ¼” link
- Tile – Subway tile 3×6, 2 cases link
- Spacers 1/8” (already owned)
- Tile Adhesive link
- Grout link
- Grout float narrow link
- Grout float larger link
- Micro fiber pack link
- Grout Sealant link
- Clear Silicone link
- Caulk link
- Caulk Gun (already owned)
Above costs with supplies I had on hand and things I needed to buy $157.61

Avoid this Mistake
Do Not Get This Custom Building Products Fusion Pro #19 Pewter 1 qt. Single Component Grout unless you’re a pro. Refer to #15 in Tiling a Kitchen Backsplash and check out this the video from Home RenoVision DIY You Tube https://youtu.be/cOnvsU0Q-eg
In a nutshell, this single component grout has a sealer built in to it. Sounds good BUT if you are not a fast tiler (which if you’re new you won’t be) the sealer will set the grout to cement and you will have no chance to wash it properly, ruining your project and costing you money by having to repurchase your tile. I go over washing your grout lines in this article.
Research made simple for you! These were the videos I followed to tile my kitchen.
Home RenoVision DIY https://youtu.be/HIyIGJcJejU
Mark Shows https://youtu.be/lID-aE515rI
Home RenoVision DIY https://youtu.be/dxPmaMQYkOU
Brent Darlington https://youtu.be/ifd8EadmB7Y
“This Grouting Mistake will Ruin Your Tile Job” https://youtu.be/cOnvsU0Q-eg
Do it to the best of your ability, don’t cut corners and you’ll enjoy it forever with pride in yourself.
This does not mean perfection! Nothing is perfect and that is perfectly perfect.
~Marjorie

